
project
X/Y Plotter
Ressurecting Matt Shepard's plotter thats been in the attic for a decade.
 moheeb·
 1 14
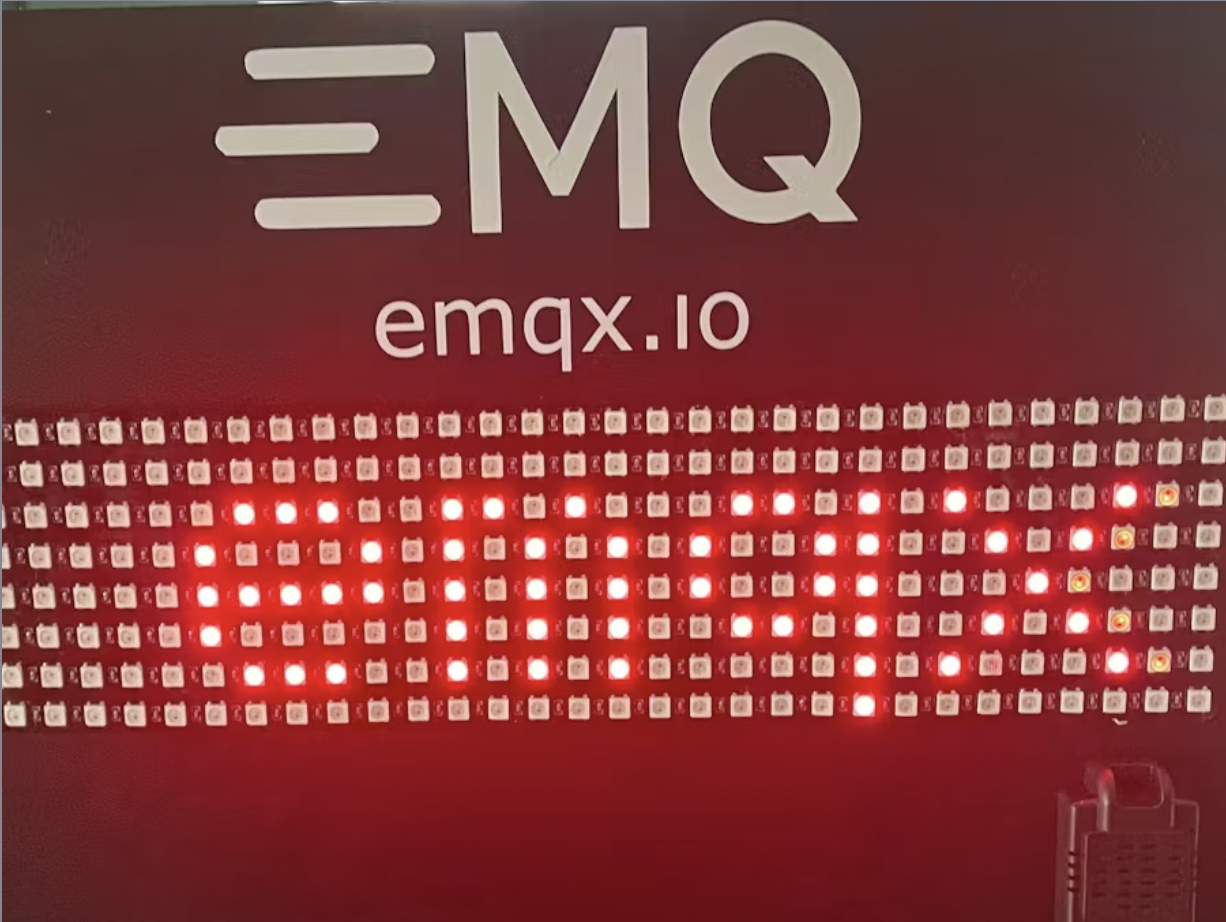
Learn how to build a scrolling text display using MQTT, neopixels, and an ESP32
| Component | Qty | Notes |
|---|---|---|
| Soldering iron (generic) | 1 | - |
| EMQX | 1 | - |
| Espressif ESP32 | 1 | - |
| MQTTX | 1 | - |
| RGB LED Pixel Matrix, NeoPixel NeoMatrix | 1 | - |
| Jumper wires (generic) | 1 | - |
In this guide I'll walk you through creating an internet controlled LED matrix that lets you display scrolling text. The device uses any off the shelf ESP32 wifi enabled programmable IoT development board and addressable LEDS often referred to as Neopixels. It connects using MQTT, so you can integrate any custom app as well as many existing IoT platforms.
If you’re unfamiliar, MQTT stands for Message Queuing Telemetry Transport. It’s a robust messaging protocol with a publish and subscriber model - using topics to define where messages are coming from or going to.
EMQX is the most feature rich, secure, and reliable MQTT broker available as both an open-source project and as a managed cloud service. This guide will be using EMQX.
You have a number of options for deploying EMQX. You can install it locally or use our cloud platform to deploy a dedicated deployment. We also provide a serverless deployment, which does require modifying the code to use a certificate file.
For a local deployment using the EMQX Community edition, follow this Hackster guide.
1 / 2
There are a couple of different ways to wire an LED matrix that uses Neopixel compatible addressable LEDs. You can create one by wiring together individual LED strips in a zigzag pattern or you can use a premade LED Matrix panel.
1 / 2
There are three pins on the ESP32 that need to be connected.
The Arduino sketch creates a basic program that connects to your WiFi network, connects to the broker as the user created on your EMQX broker, subscribes to messages on a topic led/matrix and when a message is received it will display it as scrolling text on the LED Matrix.
The Arduino code subscribes to the MQTT topic led/matrix on the EMQX broker. When a message {"message": "your text here"} is published to that topic, the text in the value of the message key is displayed on the LED matrix.
You can test this using MQTTX, a free test client provided by EMQX.
Now that you know how to program an ESP32 to control an LED matrix and connect to an EMQX MQTT broker, you can easily build more applications around this. You could create an app that runs in the cloud or somewhere else that can send text to the LED matrix. For example, a news crawler that pulls the latest news from an API and displays it. You could make a notification panel or a leaderboard. You can even use it to make internet controlled holiday lights if you ditch the matrix for just LED strips. The framework is there, all you need is your creativity!
We have an amazing community of open-source contributors and users of the EMQX project and cloud service. Join in on the discussions, share your projects, or feel free to ask any questions! We'd love to hear from you!
Ressurecting Matt Shepard's plotter thats been in the attic for a decade.
moheeb·
A tongue-in-cheek heat transfer vinyl design with some (intentional) errors.

Here is my entry for the T-shirt competition